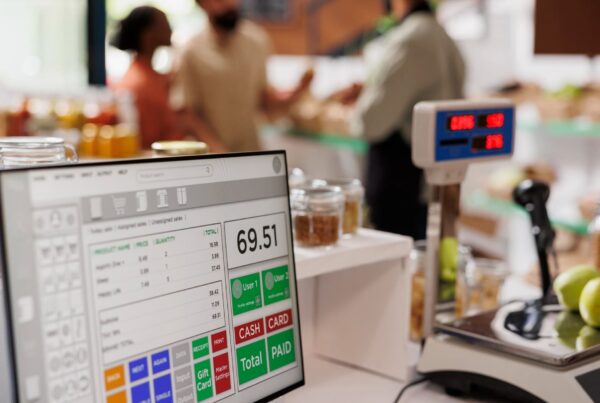
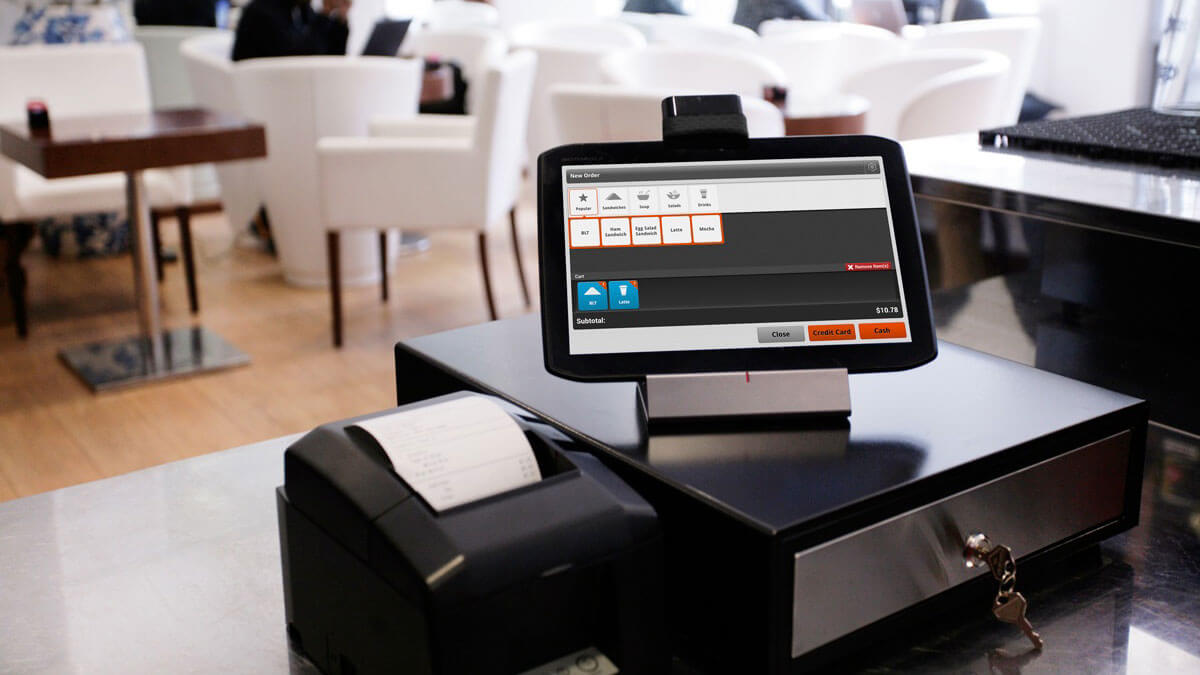
Cash register is a device for recording payment amounts and handling cash in a retail POS system. The 4 most popular types of cash registers are electronic cash registers (ECR), point of sale cash registers on desktop, mobile cash registers on tablets, and cloud-based cash registers. But how do cash registers work? Most cash registers have the same fundamental way of working. Thus, this article will introduce how to use a cash register with 3 key retail processes. All you need is to bring your cash registers to practice step by step with our guide. Let’s get started!
How to set up a cash register
Step 1: Put your cash register in a suitable place
To get started, put your cash register on a flat, hard surface, ideally at the cashier counter and beside other POS terminals where you pay your customers.
Then you plug it into an electrical outlet.
Note: Don’t use a power cord but plug the register directly into the socket.
Step 2: Install the battery
The battery is the backup power supply for the cash drawer in a power failure. Therefore, you need to install the battery before any function of the cash register.
First, remove the receipt cover to reveal the battery compartment. Some battery compartments are located below the receipt area, and you need to use a small screwdriver to open the cover.
Then, insert the battery according to the instruction manual that came with your cash register. When you’re done, close the battery compartment cover.
Note: You should change the battery once a year for the cash register to work stably and continuously.
Step 3: Install receipt paper rolls
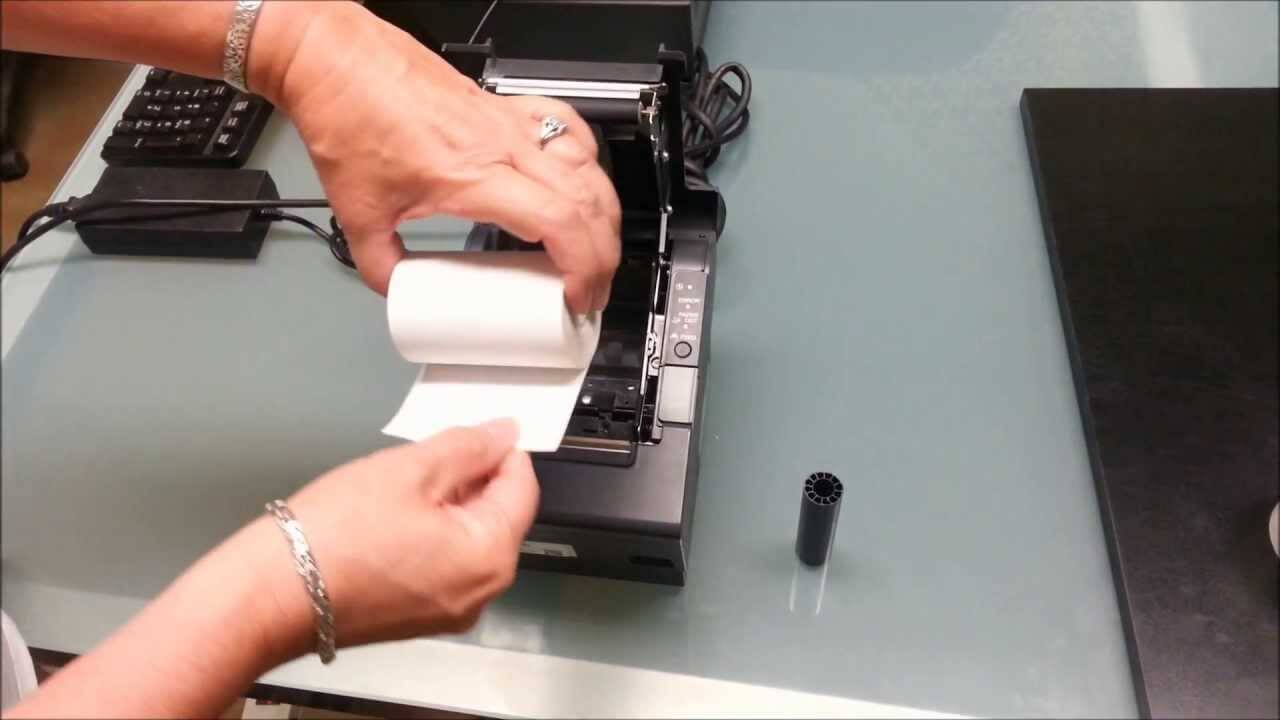
To install the receipt roll, locate the receipt drawer and open the cover. Then, pass the rollover and bring the roll up to the front of the register, where your cashier can tear up receipts for customers.
Test run by pressing the FEED button. The register will catch the receipt and pass it over.
Note: For the paper to load easily in the input tray, make sure the end of your roll has a straight edge.
Next, let’s learn how to open a cash register.
Step 4: Unlock the drawer
To unlock the drawer for the first time, you need to use the key that comes with each of your cash registers. Once the drawer opens, you can leave the key in the drawer during a sales session.
Note: Don’t lose this key and always lock your cash drawer after the sale ends for safety.
Step 5: Turn on the cash register
You can easily find the ON/OFF switch on the side or back of your cash register. However, some cash registers have a key to enable the cash register on the front of it. With that type of cash register, you need to turn the key to the REG position to register.
Also, with newer cash registers, you may see the MODE button instead of the start key. If so, please press the MODE button and scroll to REGISTER mode or active mode.
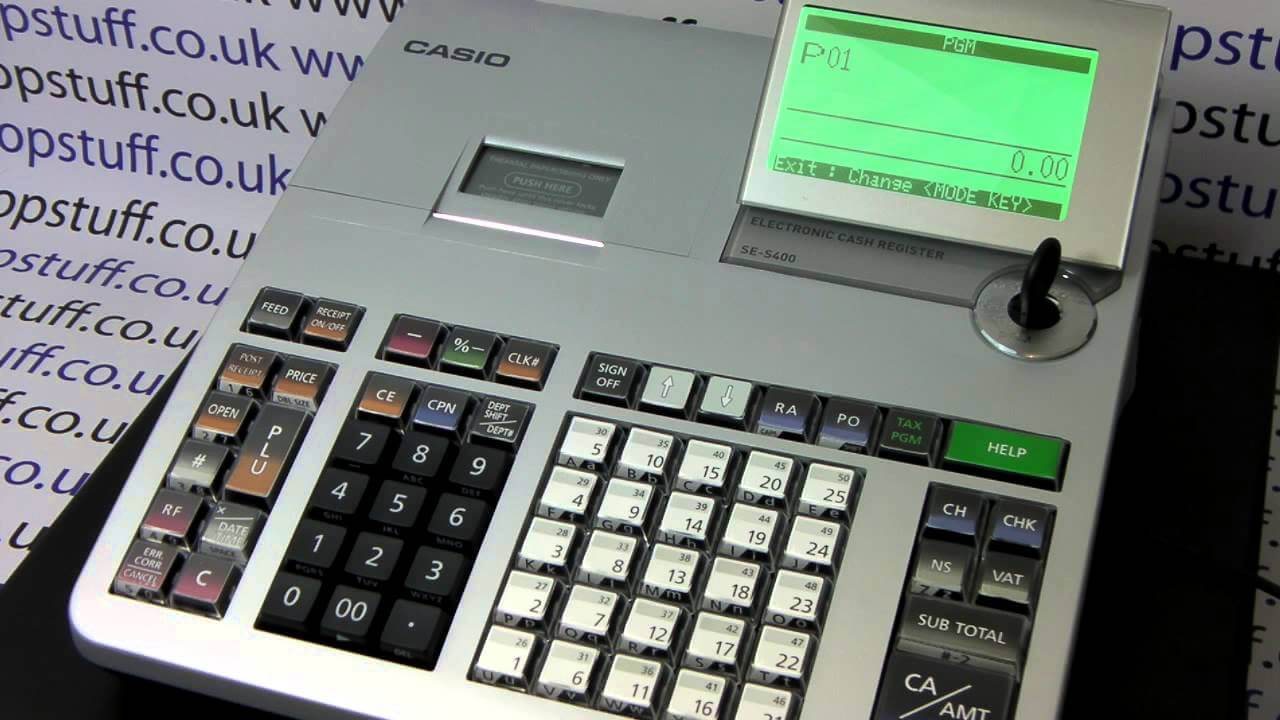
Step 6: Configure your cash register
In the items of your retail store, there will be taxable or non-taxable items. In addition, you may want to set the date and time. Therefore, there will usually be corresponding function buttons on your cash drawer to program those items. Depending on the type of cash register, to access the program function, you press the mode button to go to the PROGRAM, use the PRG or P key, or manually swipe below the receipt tape cover.
For example, some cash registers have 4 tax buttons to set different tax rates, including VAT, GST, PST, or depending on your location. Follow the user manual to install these functions.
Step 7: Connect with other point of sale devices
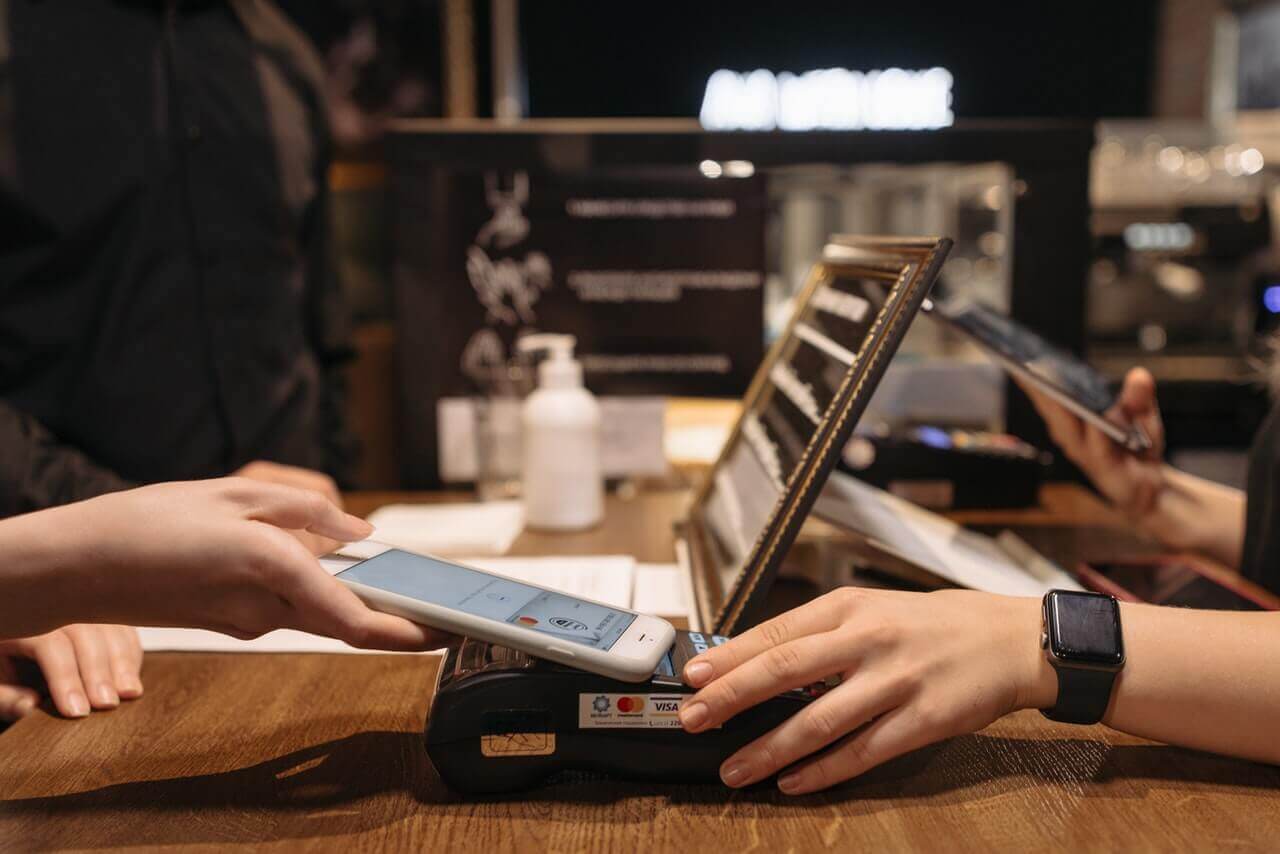
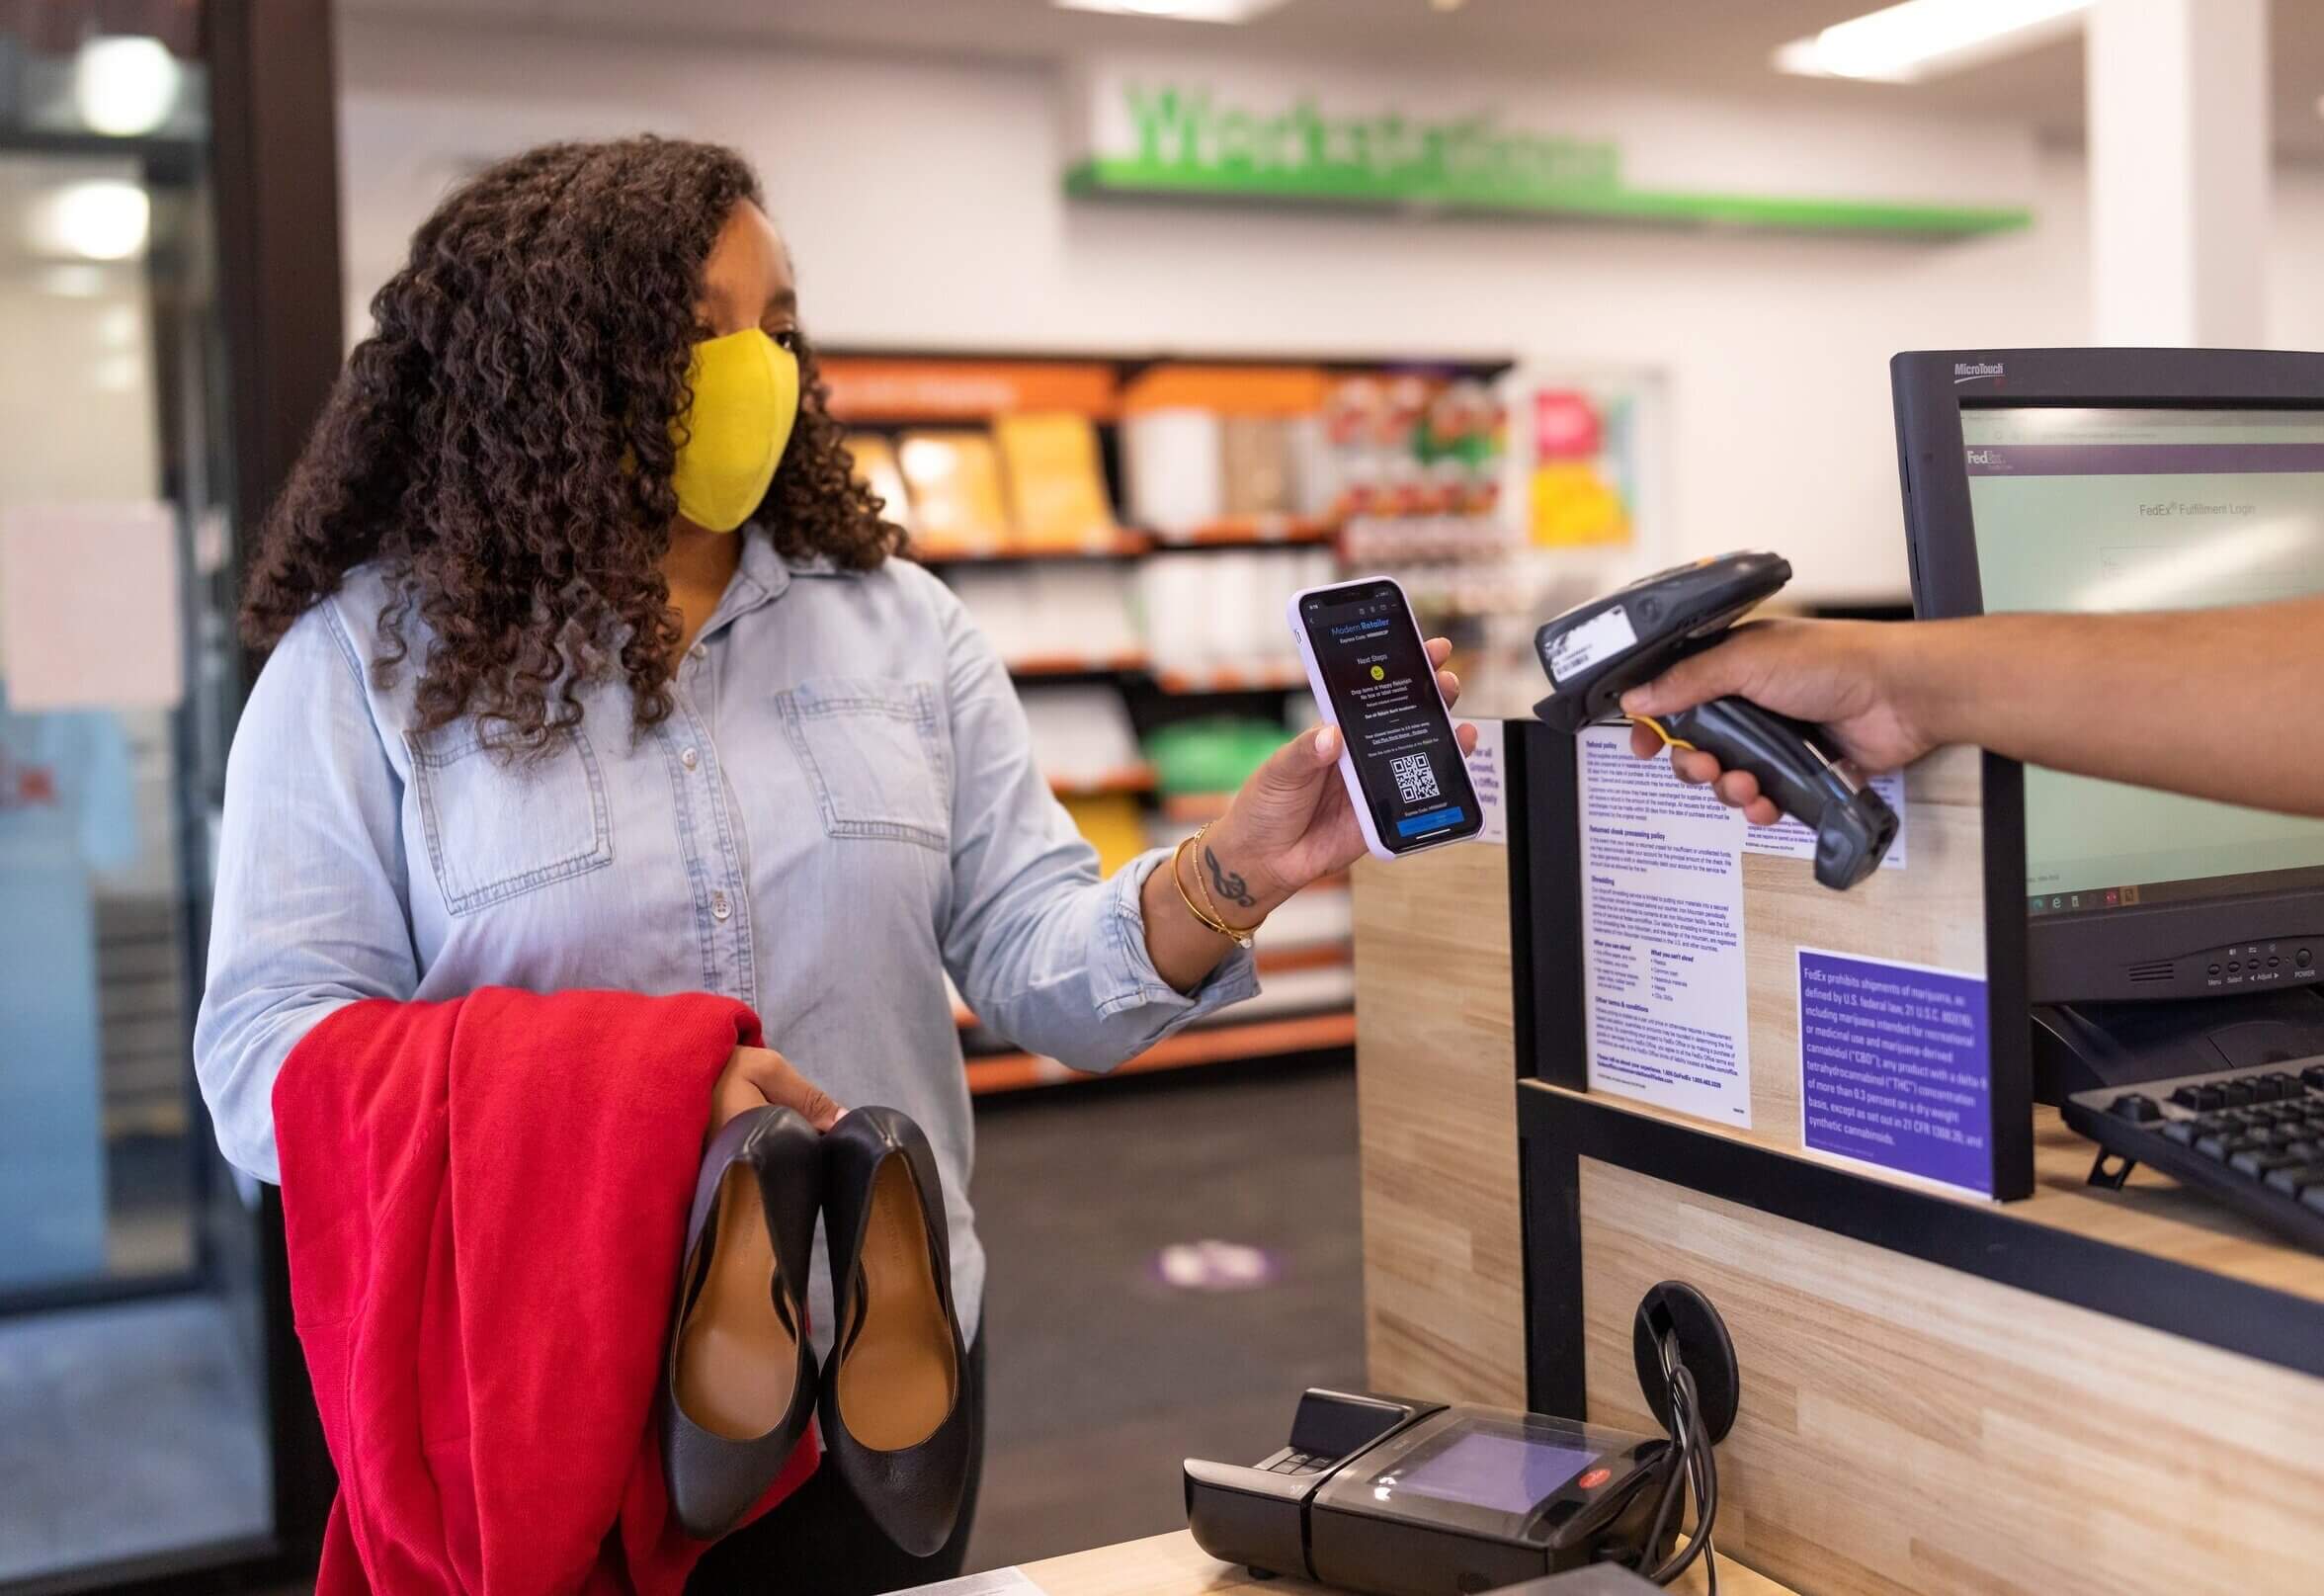
The related POS terminal for retail stores includes a cash drawer, credit card reader, a receipt printer, and a barcode scanner. In general, these devices connect to cash registers either wired or wirelessly via Bluetooth.
Before you open your store, it’s a good idea to run a few test transactions to ensure that all of your hardware and software is working correctly, and your employees have mastered how to use a cash register.
Beyond the fundamental hardware components, integrating a POS system with accounting, shipping, and ERP systems enhances efficiency.
This streamlined connection not only facilitates transactions but also provides a unified solution for managing finances, tracking shipments, and optimizing overall business operations, improving the functionality of your cash register setup.
Step 8: Close the drawer
Always close the cash drawer immediately after you use it. It reduces the risk of theft. Also, always empty and balance cash drawers before storing them in a safe place at the end of the business day.
How to run transactions on a cash register
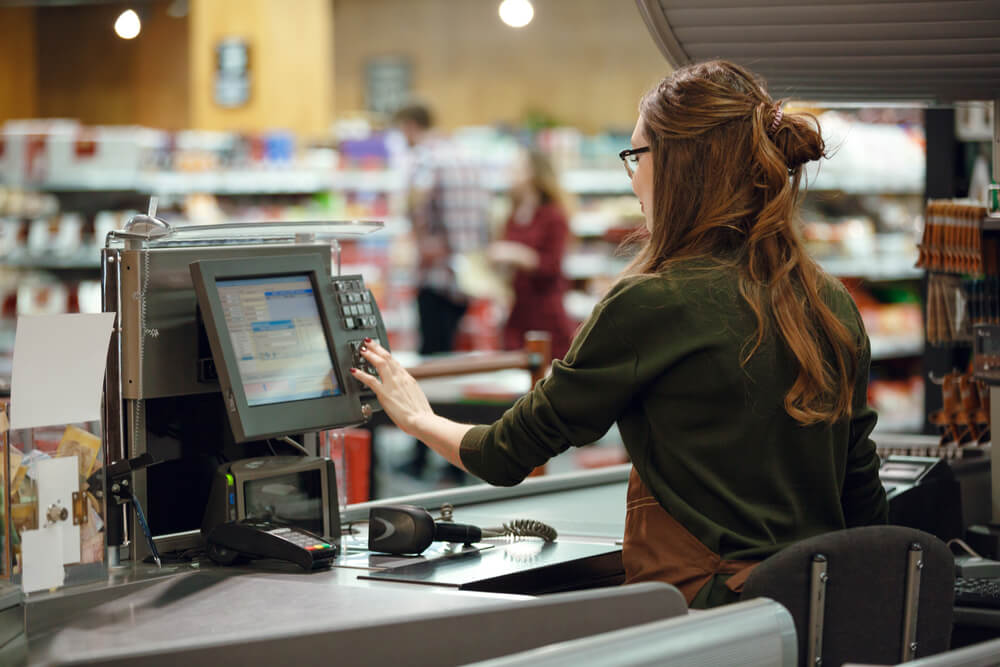
Step 1: Log in to cash registers
To use the cash drawer, you need to enter a security code or password. Some cash registers will use employee ID or emails to attribute each sales order to a specific cashier. It’s helpful for you to track the sales of each employee or to handle errors.
Step 2: Enter information and quantity of items
You can use the numeric keys to enter the exact quantity of the item when paying a customer.
Then, press a button after that item’s cash price to assign it to a sale category like food or clothing. In addition, you can choose the corresponding tax rate for the item category. Refer to the cash drawer manual for how to set up taxes.
If the customer pays for multiple copies of the same item, press the item quantity, then press the QTY/X-TIME button and then the price of an item, and finish with the department key. For example, if a customer buys 2 books for $7.59, you press 2 and then press QTY / X-TIME. Then press 759, then the department key.
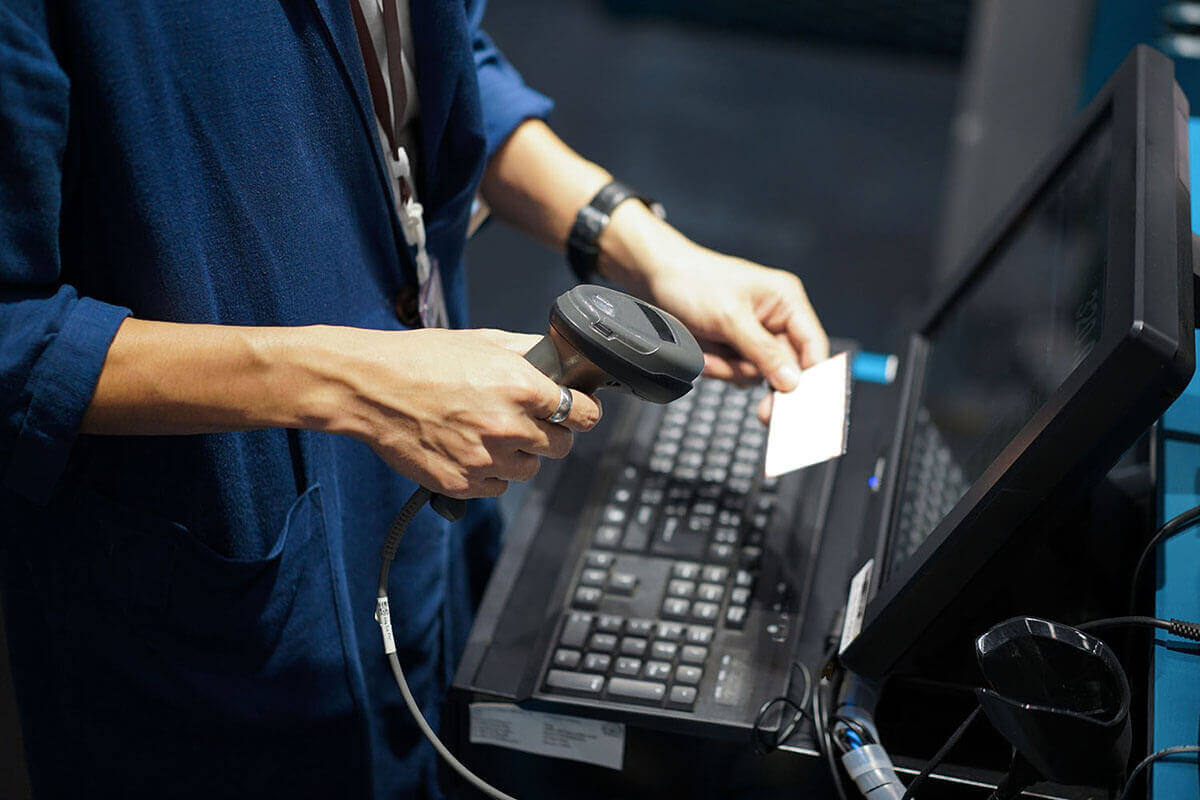
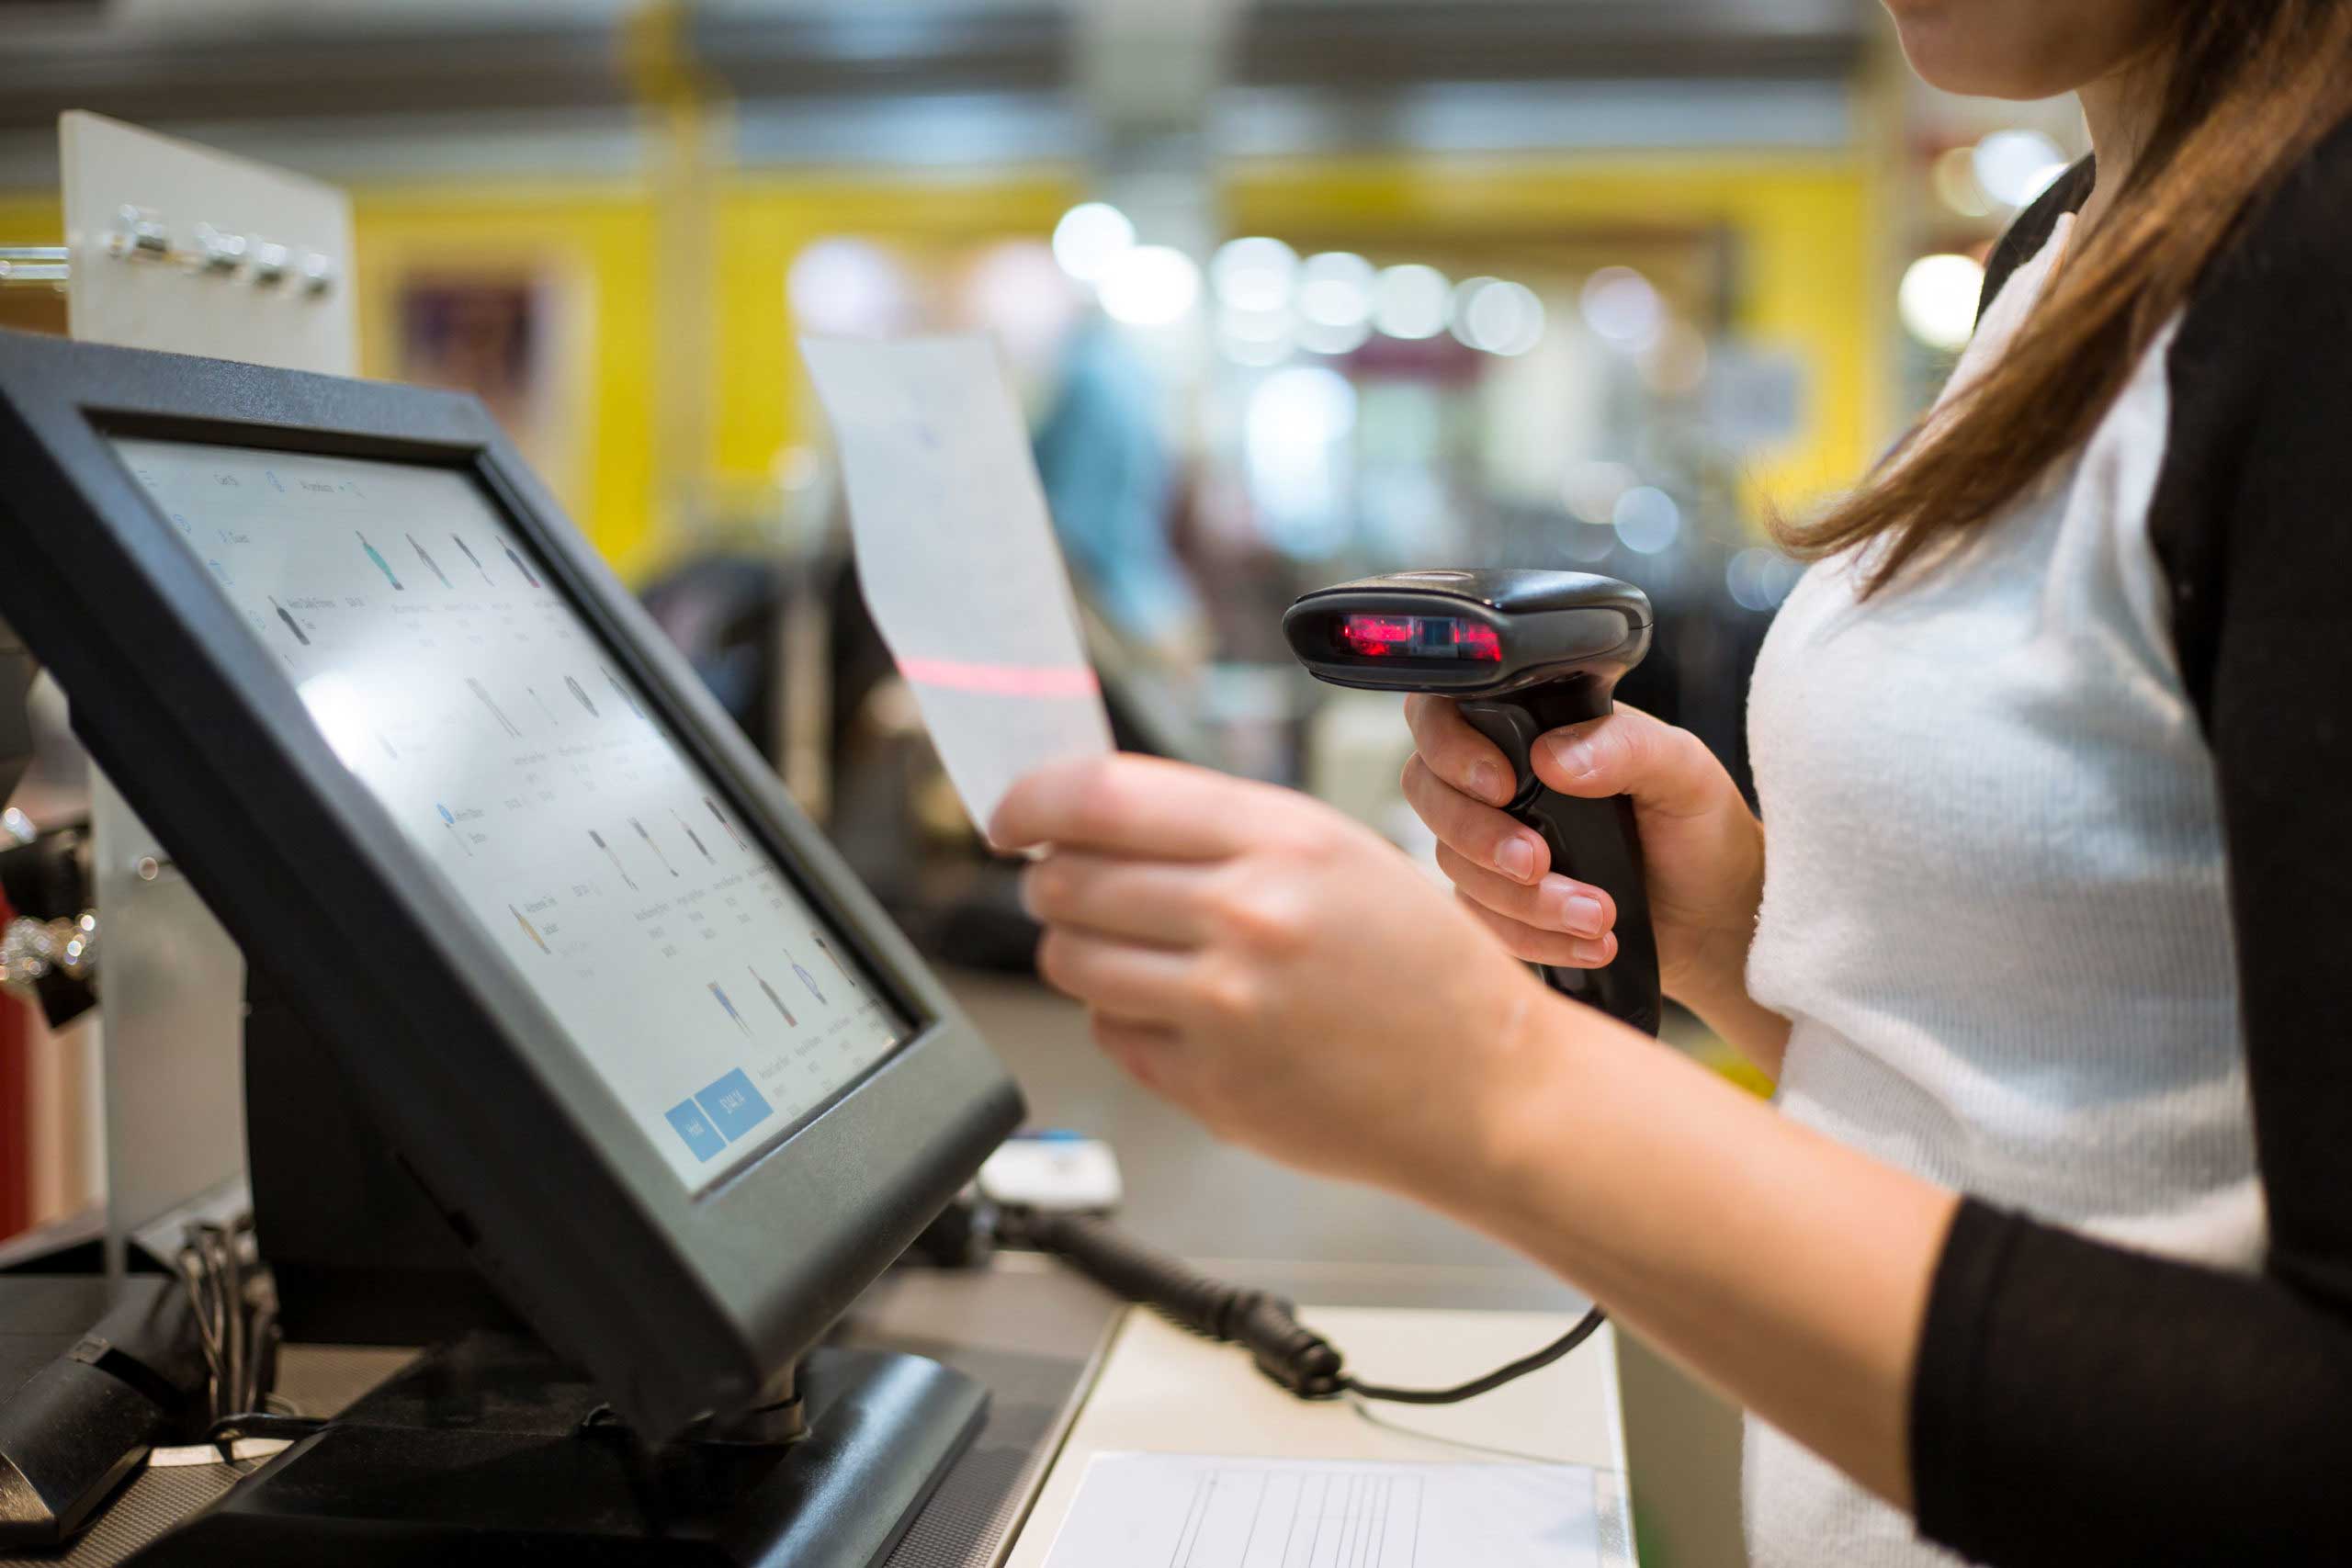
Modern cash registers can integrate with a barcode scanner to scan barcodes and enter product information automatically, and you won’t need to enter it manually.
Step 3: Add a discount or gift card coupon code

You may need to enter a discount percentage to apply the discount code. To do that, press the department button. Next, enter the discount percentage, for example, 10 for 10% off, and then press the % key in the row of buttons to the left of the numeric keypad.
Step 4: Choose a payment method
Retail stores will accept many popular payment methods for customers, such as cash, checks, credit cards, gift cards, and other contactless e-wallet payment methods. To record a customer’s payment method, follow these steps:
Accept a cash transaction
Enter the cash amount the customer gives you and press the CASH or AMT TND button. It’s the widest button on the bottom right part of the cash register keyboard.
Some cash registers will show the odd amount to return to the customer. However, you’ll have to do the math in your head with some older cash register models.
Here, you may wonder how to open a cash register without a key. With some EPOS systems, after you click the print receipt, your cash drawer will automatically open, and you can place cash in the drawer.
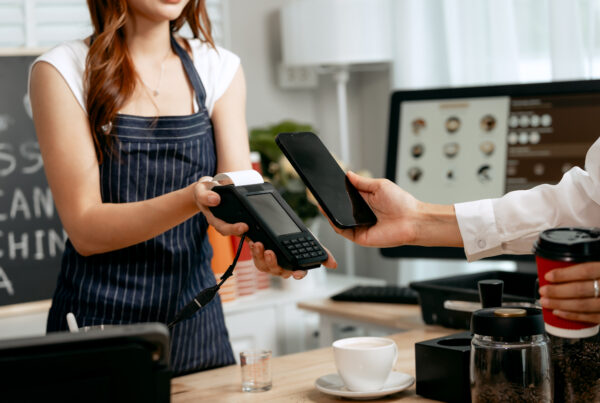
Accept a credit card transaction
First, you get a credit card from another. Next, press the CREDIT or CR button.
Then, please enter the required amount into the credit card machine and run it.
Accept a check transaction
First, you enter the exact amount of the check.
Next, press the CK or CHECK button. After receiving the customer’s check, you put the check in a drawer.
Note: If you want to open the cash drawer when you’re not selling, you can press the NO SELL or NS button. You can decentralize this function for management only.
Check out the top 7 Magento 2 payment gateways to choose the best one for your business.
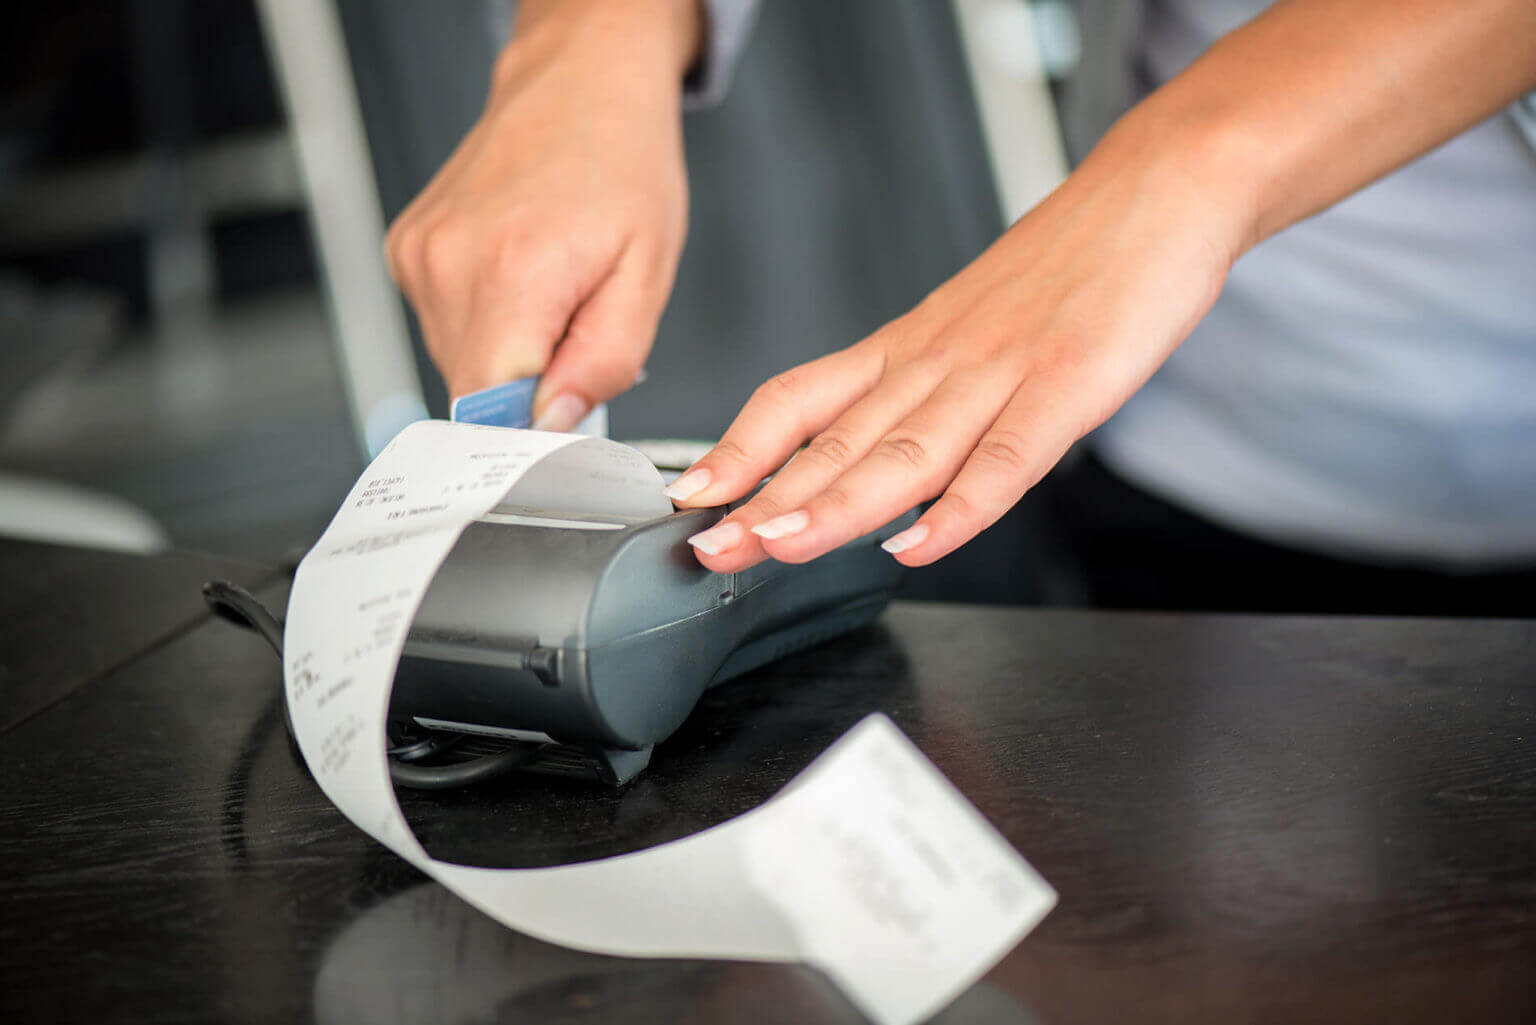
Step 5: Print the receipt
Press the FEED or arrow keys to bring the receipt up. You can then read the total on the receipt.
How to void a transaction on a cash register
Sometimes your employees enter the wrong amount or your customers want a refund, you need to cancel or credit a refund to void a transaction. Here is how to work a cash register in these 2 scenarios:
Situation 1: Cancel a transaction
If you enter the wrong price for an item, or a customer decides they don’t want to buy an item anymore after you’ve entered it into the system, you’ll need to cancel the sale or item to remove it from the subtotal. To void a transaction on a cash register, here are the steps:
Step 1: Enter the exact amount you entered wrongly.
Step 2: Press the department key and press the VOID or VD button to remove that amount from the total.
Note: If you need to cancel a total discount on multiple items, go through each item and cancel each item individually.
Situation 2: Refund a transaction
To refund the customer, you’ll need to follow these 3 steps:
Step 1: Press the REF. key to access the refund function.
Step 2: Enter the item’s exact quantity and price information and press the corresponding department key. It’ll record that amount of the store’s total cash for the day.
Step 3: Press the subtotal button and then press the CASH or AMT TND button. The cash drawer will open, and you can refund the customer.
You can assign refund rights to specific employees or managers. From there, the cash register will ask the user for a password before processing returns and refunds.

Related questions
How much money should you start with in a cash register?
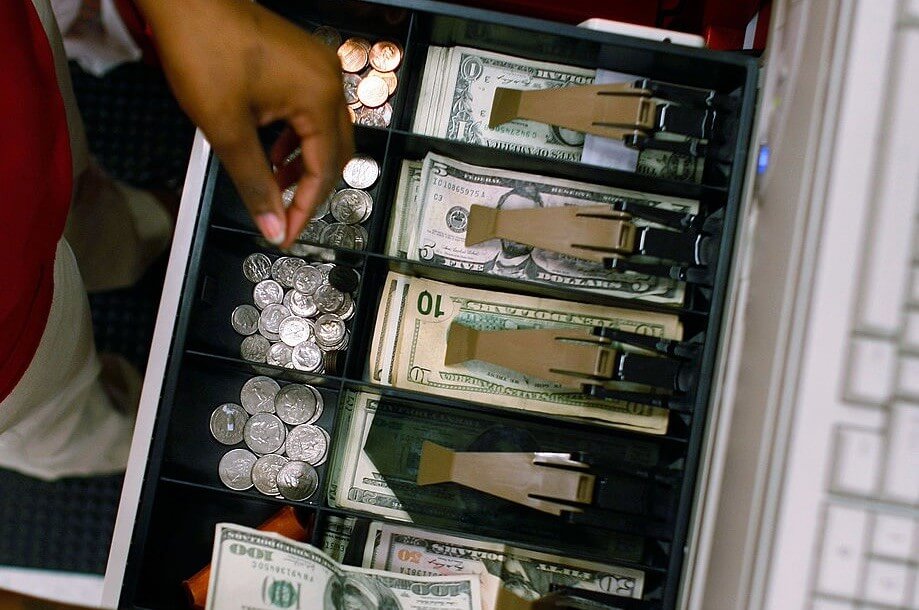
The amount of money you should start with in a cash register is between $100 and $150. Also, a good rule of thumb is to keep at least $20 on a dollar bill and $20 on a $5 bill. That amount allows you to return the change to your customers within one sales shift. The exact amount can vary from business to business, but make sure your employees have cash on hand in their cash drawer before each shift.
How do you not be short on cash registers?
To avoid getting short on a cash register, you can follow these 7 tips:
- Check cash register before starting each shift
- Make sure your employees know how to set up money in a cash register
- Keep money straight and keep them organized during shifts
- Readout loud the amount returned to the guest so that you and they both understand
- Always give receipts to customers
- Check $50 and $100 bills with a counterfeit detector (if applicable)
- Complete a transaction before starting a new one
How do you count down a register?
When you count down a register after each shift and reconcile revenue and expenditure, you’ll reduce the possibility of theft and check for any possible errors for the correct invoice amount for the day. Here is the standard procedure to count down a register:
Step 1: Calculate the total amount available at the end of the day
Add up the total amount of the initial cash in the cash register and the amount you receive for the day. The amount in the cash drawer needs to be equal to the sum of these two numbers. Note down the total cash and change as you count.
Step 2: Calculate the amount on the bill
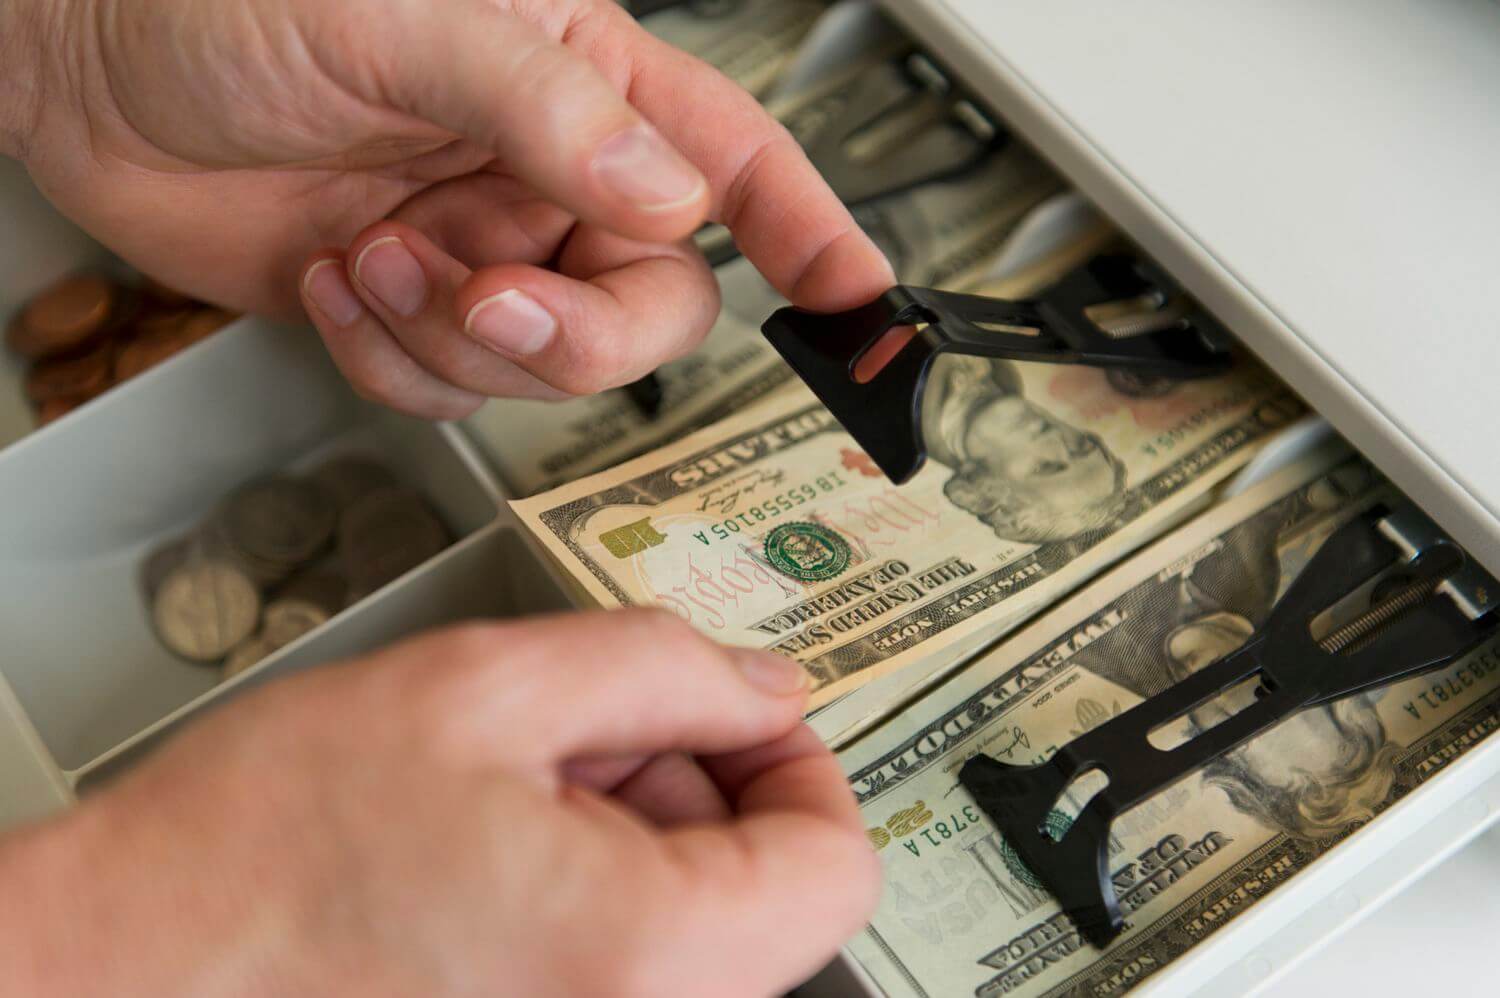
Place all the bills on the counter, all facing in one direction, and count them. Start with the highest bills first. Write down the amount during the counting.
Step 3: Calculate money at face value
Arrange cash into stacks according to face value. Then, write the total amount of each of these denominations on a separate line on your piece of paper.
Step 4: Count down the change
For example, if the highest bills are 2 of $100 bills, you’ll write out 2 X $100, and that’s $200 in total. Repeat that process for each smaller invoice size, then for the variation.
Keep change in a separate compartment for better tracking. Then, write down the totals as you continue.
Step 5: Reconcile and compare
Add up the total of the cash drawer and compare it with the number in step 1. The amount must match. If not, recount it. If it still doesn’t match, check under the cash drawer to ensure no money has fallen into it.
If you’re missing or redundant, record this and check where the difference comes from.
Final thoughts
That is all. There may be many buttons and procedures to follow, but with a bit of practice following each step in the tutorial, you won’t have to wonder how to use a cash register anymore.
Also, an important tip is that you can eliminate most manual steps by integrating your cash drawer with a barcode scanner and a modern POS system. They’ll synchronize the information of goods to avoid errors in data entry and calculation for accurate data.
As a result, your financial records are always transparent and limit losses due to petty theft. If you invest, you’ll reap faster transaction speeds, more accurate employee tracking, simplified inventory management, and insights into your business’s financial performance.
If you’re a Magento merchant looking to optimize your store operation, you can get started with a free business consultation with Magestore. Together we can build a solution that fits your requirements.