



Magento-native POS solutions are typically implemented in two ways: self-installation and vendor-assisted implementation.
Self-install packages are often intended for retailers with simpler requirements, but “self-install” does not necessarily mean easy or plug-and-play. Some packages still require an experienced Magento developer or system administrator to install, configure, and test them.
Vendor-assisted implementation, on the other hand, is more suitable for advanced POS packages that involve complex workflows, custom requirements, integrations, or technical setup that requires expert assistance.
However, whether retailers choose a self-installation package or a vendor-assisted implementation package, Magento POS implementation is rarely just about buying software and installing it. The real complexity often comes from business workflows, Magento setup, inventory logic, payment requirements, hardware compatibility, staff training, long-term support, and future maintenance.
This article explains the real-world effort, risks, and full cost of implementing a Magento POS. It will help you understand what to expect before, during, and after implementation, so you can budget accurately, avoid hidden pitfalls, and decide whether Magento-native POS is the right strategic fit for your business.
- How complex is Magento POS implementation?
- Two standard ways to implement a Magento-native POS: self-installation vs vendor-assisted implementation
- How to implement a Magento-native POS: Self-installation & Vendor assistance
- Costs to consider when implementing a Magento POS
- Risks to be aware of when implementing a Magento POS
Key takeaways
- There are two main ways to implement a Magento-native POS: self-download/self-installation and vendor-assisted implementation. Self-installation is generally better suited to retailers with a clean Magento environment and limited customization or integration needs. Vendor-assisted implementation is more suitable for retailers that require advanced features, a more complex setup, or professional technical support.
- Each approach requires a different level of effort. The people involved, implementation time, and technical knowledge needed will depend on the POS package and the complexity of your Magento environment. You should review these requirements carefully before choosing an implementation approach.
- The total cost goes beyond the POS price. Retailers should budget for visible costs (the license, installation, and basic support); commonly overlooked costs (customizations, change requests, maintenance, upgrades, and advanced support); and third-party costs (payments, hardware, hosting, and integrations).
- Risks can arise before, during, and after implementation. Common risks include unclear requirements, choosing the wrong POS package, extension conflicts, project delays, insufficient staff training, unexpected support costs, and compatibility issues after Magento upgrades.
How complex is Magento POS implementation?
Magento POS implementation can range from relatively straightforward to highly complex. The level of complexity depends less on the act of installing the POS software and more on how well the standard POS functions fit your Magento environment, store operations, data, hardware, payment methods, and connected systems.
Implementation is likely to be relatively straightforward when you operate a small number of stores, use standard checkout workflows, have clean and accurate Magento data, use supported hardware and payment methods, and do not require significant customization or integration. In this situation, a technically capable retailer may be able to install and configure a self-install POS package with limited vendor support.
The project becomes moderately complex when it involves multiple stores or registers, several staff roles, inventory sources, payment terminals, promotions, tax rules, fulfilment options, or third-party Magento extensions. Even when no custom development is required, these elements must be configured, tested, and coordinated carefully.
Implementation is likely to be highly complex when the POS must support custom checkout or fulfilment workflows, connect with ERP, WMS, accounting, loyalty, or other external systems, work with extensive Magento customizations, migrate or clean large amounts of data, or roll out across many stores. These projects normally require vendor assistance, detailed requirements, custom development, multiple rounds of testing, and coordinated participation from several internal teams.
In practical terms, the complexity of your implementation depends on five main factors:
- Magento environment: Magento and PHP versions, hosting, custom code, extensions, and system stability
- Business workflows: Checkout, returns, promotions, inventory, fulfilment, customer management, and reporting requirements
- Customization and integrations: Gaps between standard POS capabilities and your required processes
- Rollout scale: Number of stores, registers, users, hardware devices, and markets
- Internal readiness: Availability of technical staff, clear requirements, clean data, testing resources, and decision-makers
A fit-gap assessment before purchase is therefore the most reliable way to determine whether your implementation will be simple, moderate, or complex.
Two standard ways to implement a Magento-native POS: self-installation vs vendor-assisted implementation
Self-download/self-installation POS
A self-download/self-installation POS is a POS package that lets you download and install the solution yourself, typically with limited or optional support from the POS vendor.
However, self-installation does not always mean the POS is fully plug-and-play. Some self-install POS packages may still require Magento knowledge, technical setup, command-line installation, configuration, and testing. Therefore, this option is more suitable for retailers that have a relatively clean Magento setup (compatible Magento and PHP versions, accurate product and store data, few extension conflicts, well-documented custom code, a stable staging site for installation and testing, etc.), do not require heavy customization or complex integrations, and can handle setup, testing, and troubleshooting internally.
Examples of self-installation Magento POS packages may include the Magestore POS Lite (Magento POS extension), Magestore POS Simple (subscription plan), Magefan POS, Webkul POS, and similar installable Magento POS software.
Each solution has its own pros and cons. Below are some common advantages and limitations of a self-download/self-installation POS package.
Pros | Cons |
(A clean Magento environment is defined above.) |
|
POS implemented by vendor
A vendor-assisted POS implementation means the POS vendor supports the retailer throughout the implementation process, including setup, configuration, testing, deployment, and go-live preparation.
Unlike a basic self-installation POS package, this option is usually designed for retailers that need advanced functions, a more complex setup, or professional technical support. Retailers with limited technical resources may find it difficult to install, configure, and test the system by themselves.
Magestore POS Simple (one-time payment plan) or Magestore POS Commerce are examples of Magento POS packages that may require vendor-assisted implementation.
Pros | Cons |
|
|
How to implement a Magento-native POS solution
How to implement a self-download/self-install Magento POS
Step-by-step implementation guide for a self-download/self-install POS
Step 1: Purchase or subscribe to the POS package
Once you’ve chosen the self-install Magento POS package that best fits your business needs, the next step is to purchase or subscribe to the solution through the POS vendor’s website, Adobe Commerce marketplace, an authorized Magento extension partner, etc.
During checkout, depending on the vendor, you may be asked to provide information such as:
- Contact name (first and last name)
- Email address
- Company name
- Magento live site domain (for package installation or license activation)
- Magento edition and version (required by some vendors)
- Installation support request (if needed)
- Discount or promotional code (if applicable)
- Acceptance of the vendor’s terms and conditions
Before completing the purchase, review the package details carefully to confirm what is included in the price. In particular, check whether installation assistance, software updates, technical support, hardware integration, and conflict resolution are included or charged separately. You should also verify that all the information you have provided is accurate, especially your Magento domain, edition, version, and contact details.
Once everything is confirmed, select your preferred payment method, enter your payment details, and complete the purchase.
Step 2: Receive the POS package confirmation
After the payment has been processed, the POS vendor will normally send an order confirmation by email or make the product available through your customer account.
Depending on the vendor, you may receive:
- An order confirmation/ an invoice or payment receipt
- A link to download the POS package and installation documentation
- A license key to activate and validate the Magento POS package after installation
- Information about updates and support coverage
Carefully review the complete installation guide, verify the technical prerequisites, confirm that you have the correct package version, and store the license information securely.
Step 3: Back up the website and install the POS package
The next step is to back up the website and install the POS package. The installation and deployment process may vary across POS vendors, so carefully follow the step-by-step instructions provided by your vendor.
A Magento POS package may require command-line operations rather than installation through a simple browser-based button. Retailers should have basic knowledge of Magento to activate the package.
For example, take a look at the general installation process of Magestore POS:
- Enable maintenance mode before starting the installation: This is a standard Magento requirement when installing or updating extensions and applications. It temporarily takes the website offline while the POS files and system settings are updated, so customers see a maintenance page instead of accessing the store.
- Upload and extract the POS package: Upload the downloaded package to the Magento root directory, extract it according to its archive format, and copy the extracted POS code to the required Magento directory.
- Run the Magento upgrade command: This installs and registers the POS modules and applies any required database changes.
- Deploy the POS client application: Publish the client-side files required for the POS interface to load and use the newly installed code.
- Compile the Magento code: Compile Magento’s dependency-injection code and generate the classes required for the installed modules to run efficiently. Complete this step before returning the website to production mode.
- Switch Magento to production mode, disable maintenance mode, and verify the installation: Bring the website back online, then confirm that the storefront loads normally, Magento Admin is accessible, and the POS interface works correctly.
- Other advanced configurations:
- Reindex Magento: Reindex Magento after installation to refresh product, pricing, inventory, and other indexed data used by the POS.
- Adjust the Redis session configuration: Where required, adjust the Redis session settings to support simultaneous POS requests and reduce session-related delays or errors.
- Switch the indexer mode to schedule: After reindexing, switch the indexer mode to schedule so Magento can process future data updates in the background through cron jobs rather than rebuilding indexes immediately whenever data changes.
Step 4: Configure POS settings
Once the package has been installed successfully, start to configure the POS for your stores. The available settings will vary by POS vendor, but most Magento-native POS solutions require several common configuration areas as below:
- Store, location, and register configuration: Set up the physical stores and registers that will use the POS. This may include store and location names, store address and contact details, assigned Magento website and store view, etc.
- Payment settings: Enable the payment methods that staff can use at the POS, such as cash, credit and debit cards, mobile payments, bank transfers, and partial or split payments. The available options will depend on your payment provider, terminal compatibility, and the integrations supported by the POS.For payment terminals, you may also need to configure payment provider credentials, terminal IDs, API details, store or merchant account, and more.Do not assume that every payment method available on your Magento website will automatically be available in the POS. Some payment methods or physical terminals may require separate configuration or integration.
- Staff access and permission setup: Create and assign accounts for relevant staff, such as store managers, cashiers, and sales administrators. Define the actions each role is authorized to perform, including applying discounts, cancelling orders, processing refunds, opening or closing registers, viewing reports, etc.
- Customer settings: Decide how customer information should be handled during checkout. Some possible settings may include: allowing guest checkout, requiring a customer account, creating new customer accounts, collecting email addresses or phone numbers, managing customer addresses, assigning customer groups, and more.
- Other feature settings: Beyond the basic settings outlined above, the available configuration options will vary by POS vendor and package. Depending on the features supported by your chosen POS, you may also be able to configure order and fulfilment rules, inventory behavior, tax settings, loyalty programs, and other store-specific functions.
Step 5: Test the main POS flows
Before connecting all store hardware or launching the POS, test its core software workflows.
The exact test scope will depend on the features supported by your POS and your specific business requirements. For example, key test flows may include:
- Product and cart functions: Search for products, add or remove items, adjust quantities, and perform other cart-related actions.
- Customer functions: Search for existing customers, create new customer profiles, add or edit customer addresses, etc.
- Checkout and payment: Process orders using supported payment methods, including cash, cards, mobile payments, and partial or split payments.
- Returns and refunds: Process full or partial refunds, handle returns or exchanges with and without receipts, etc.
- Other workflows: Test any additional processes required by your business.
Step 6: Test with real store hardware
After confirming that the software workflows function correctly, connect the POS to the hardware that will be used in the store.
Hardware testing should cover barcode recognition, printer connectivity, receipt layout, automatic cash drawer opening, payment terminal communication, and other relevant device functions.
Before purchasing hardware in bulk, verify that each device model is supported by the POS vendor on the vendor’s website or in the product documentation. A device that works with another POS system may not necessarily be compatible with your selected Magento POS package.
Step 7: Fix conflicts or errors if they appear
After testing the POS software and hardware, document any issues you encounter, including the exact error message, the steps that triggered it, and the expected result. Review the vendor’s installation guide, troubleshooting documentation, and compatibility requirements to identify a solution.
Fix the issue, then repeat the affected workflow to confirm that it has been resolved. If you cannot identify or fix the problem, contact the POS vendor for support.
Step 8: Train staff to use the POS
Once the POS software, configuration, payment methods, and hardware have passed testing, train your staff, including cashiers and sales administrators, to use the system confidently. Gather their feedback during practice and early use, then refine the configuration or workflows where necessary.
Step 9: Go live
After confirming that the POS operates smoothly and your staff is ready to use it, launch the system in your store.
Effort required for a self-download/self-install POS
As mentioned above, a self-download/self-install POS is typically a basic package focused on standard checkout functions. The required effort can therefore be assessed in terms of people, time, and technical knowledge.
Human effort
You will usually need at least one person with Magento technical experience to download the package, access the server, run the required installation commands, and handle basic troubleshooting.
You may also need input from someone who understands your store operations to configure and test checkout, payments, inventory, returns, staff permissions, and other relevant workflows.
Time required
The time required depends largely on the condition and complexity of your Magento environment.
For Magestore POS Lite, the self-installation process may take approximately 2 hours on a clean Magento website with standard data. On an existing retail website, however, it may take around 2 days due to larger data volumes, third-party extension conflicts, troubleshooting, and retesting.
Technical knowledge
The person handling the installation should have a basic to intermediate understanding of Magento module installation, server access, command-line operations, and some other basic technical knowledge. Some POS packages may have additional server or deployment requirements and therefore require support from an experienced Magento developer, system administrator, or DevOps specialist.
In addition to technical knowledge, you also should understand the store’s business workflows so the POS can be configured, tested, and launched correctly.
Important notes for self-implementing a Magento POS
- Before choosing a POS package, confirm that it includes the functions you need and supports your Magento edition and version, the number of stores and registers, and your current system structure.
- The required files, commands, server settings, and deployment process may differ across vendors and package versions. Strictly follow the documentation or instructions provided for your exact POS and Magento versions.
- Do not assume that your website’s custom features will automatically work in the POS. They may require additional configuration or customization to work with the POS.
- Magento, POS, and third-party extension updates may introduce new compatibility issues. Retest all critical workflows after major upgrades to ensure the system continues to work correctly.
How to implement a Magento POS with vendor support
A Magento POS implementation supported by the vendor usually involves more than simply installing the software. The process may include business discovery, solution design, proposal review, contract approval, system implementation, testing, staff training, rollout, and ongoing support.
The exact process varies by vendor and project scope, but it generally follows the steps below.
Step-by-step guide to implementing a Magento POS with vendor support
Step 1: Work with the vendor to determine whether the POS solution fits your business needs
Start by sharing your business model, store operations, current Magento or system setup, existing integrations, and specific requirements with the POS vendor. The objective is to determine whether the standard POS features can support your requirements or whether you will need additional customization.
Some key information that you should share with the POS vendor:
- Your expected implementation timeline
- Your available budget
- Your business context: business model, number of sales channels, the products you sell, your checkout process, etc.
- Your current operating system: Magento/PHP versions, extension inventory, data volumes, hardware, payment providers, store/register numbers, và hosting model, etc.
- Your current operational pain points
- Your specific requirements (must-have and nice-to-have)
- Your internal technical resources
- Other information relevant to your business operations
This discovery process should help you understand how well the solution fits your requirements, budget, and expected implementation timeline, as well as any gaps that may require configuration, customization, or integration.
Some vendors, such as Magestore, may also prepare a tailored demo based on your business workflows and requirements. This allows you to see how the POS would operate within your checkout process and existing system before committing to the implementation.
Step 2: Review and approve the proposed project scope, cost estimate, timeline, and commercial terms
After reviewing your requirements, the vendor should provide a proposal describing what will be delivered.
The proposal may include: POS package and license, pricing, standard features included, customization requirements (if any), configuration work, warranty and maintenance, support scope after go-live, estimated timeline, payment terms, etc.
Review the proposal carefully to ensure that all business-critical requirements are clearly documented and that you fully understand the scope, responsibilities, costs, timeline, and terms. If anything is unclear or appears inconsistent with your expectations, ask the vendor to clarify it before approving the proposal.
Step 3: Provide the required system access and allow the vendor to install and deploy the POS
Once you approve the proposal, sign the contract, and pay the required deposit or full fee, the project can begin. The vendor will need access to your Magento environment to implement the POS.
To allow the vendor team to process the implementation, you may be asked to provide your Magento edition and version information, Magento Admin URL, Magento admin account, SSH or server access, staging environment access, documentation for custom modules and integration, and other relevant information based on the POS vendor’s request.
Once you have provided the required information and system access, the vendor can begin the implementation. The exact process will vary by vendor and project scope, but a typical implementation applied by Magestore includes the following stages:
- Clone your Magento source code and database.
- Use the cloned code and database to set up a secure internal development environment.
- Install the POS package using the vendor-supported deployment method and run the required Magento deployment and indexing commands.
- Configure the standard POS functions and check compatibility with your Magento version, custom code, and third-party extensions.
- Conduct an initial developer check of the main workflows, such as checkout, customer creation, payment, and shipment.
- Hand the implementation over to the QA team for more detailed functional and compatibility testing.
- Resolve any bugs or extension conflicts identified during testing, then retest the affected workflows.
- Develop and test any approved customizations based on the agreed requirements.
- Have the business analyst or project owner review the completed implementation against the approved requirements.
- Prepare a release package or deploy the approved version to your staging environment.
- Test the POS again in your staging environment and resolve any remaining issues.
- Once staging testing and final approval are complete, prepare and deploy the production release.
Responsibility for preparing store data and connecting physical hardware may rest with you or the POS vendor, depending on the terms of your contract. Some types of store data that need to be set up and verified include:
- Product data: Remove duplicates, fix missing details, and standardize SKUs, barcodes, categories, prices, and tax classes.
- Inventory data: Verify stock levels and assign products to the correct sources, warehouses, and stores.
- Customer data: Merge duplicates, correct contact details, and assign customers to the right groups.
- Staff data: Create accounts, remove inactive users, and assign suitable roles and permissions.
- Pricing and promotion data: Review prices, discounts, coupons, and promotional rules.
- Tax data: Confirm tax rates, tax classes, and rules for each store location.
- Payment data: Enable payment methods, enter provider details, assign terminals, etc.
- Receipt and business data: Verify the business name, address, tax number, logo, contact details, and return policy.
And any other types of data you may require.
Step 4: Review and test the POS configuration to confirm that it meets your requirements
Once the vendor has installed and configured the POS, verify the implementation against the agreed requirements and acceptance criteria.
You should test the POS on the staging or development site using your realistic products, customers, tax rules, discounts, stock levels, and store scenarios.
Your testing scope should reflect both the POS features included in the project and your specific business requirements. As with a self-installed POS, testing should cover core workflows such as product and cart functions, customer management, checkout and payments, returns and refunds, etc. Additionally, vendor-implemented solutions may also include more advanced functions, such as loyalty programs, inventory management, fulfilment, third-party integrations, and customizations. Make sure each workflow is tested thoroughly and operates without errors, conflicts, or unexpected results.
After testing, you should record all test results and clearly identify what you tested, what you expected, what actually happened, whether the result is accepted, and whether the correction is required.
Step 5: Work with the vendor to resolve any issues identified during testing
If you identify an issue, report it to the vendor with enough detail for the team to investigate and resolve it. Your report should include a clear description of the problem and any relevant screenshots or videos.
The vendor can then determine whether the issue is: a POS product bug, a problem with custom code, a conflict with a third-party application, a payment or hardware issue, or a new requirement outside the approved project scope.
Once the issue has been resolved, retest the affected workflow to confirm that the fix works correctly and has not caused problems elsewhere. Do not approve the production launch while critical issues remain unresolved. Agree with the vendor on which minor issues can be addressed after launch and which must be fixed before go-live.
Step 6: Train relevant staff, including store managers, cashiers, and sales administrators, to use the POS
After the system has passed testing, train the staff who will use or manage the POS, including cashiers, store managers, and administrators. Tailor the training to each role so staff can perform their responsibilities confidently, from processing checkout transactions to managing settings, permissions, reports, and store operations.
Staff feedback is also valuable because they use the POS in daily operations. Their input may reveal confusing workflows, missing permissions, slow checkout steps, or gaps in the training materials. Use this feedback to make any necessary adjustments before the pilot or full rollout.
Step 7: Pilot the POS in one store or at one register
If you plan to use the POS across multiple locations or registers, run a controlled pilot in one store or at one register before the full rollout. This allows you to evaluate the system under real operating conditions, including actual customers, inventory, payments, hardware, staff workflows, and store traffic.
At the end of the pilot, review the results with the vendor and decide whether the POS is ready for full rollout or whether further configuration, fixes, or training are required.
Step 8: Roll out the POS across your stores and registers
Once the pilot is stable and the key stakeholders have approved the launch, deploy the POS to the remaining stores and registers.
Step 9: Monitor system performance and stay in contact with the vendor for support, maintenance, and future upgrades
Implementation does not end when the POS goes live. Continue monitoring the system to make sure it remains reliable as your business, Magento environment, or third-party applications change.
Clearly define support coverage, escalation procedures, maintenance agreements, version roadmaps, and pre-upgrade compatibility checks with your POS vendor. This will help you resolve issues more quickly, keep the system compatible with Magento updates, and plan future improvements as your retail operations grow.
Effort required for a Magento POS implemented by a vendor
Human effort
On the vendor side, using Magestore as an example, a typical implementation team includes at least a business consultant, a business analyst, a developer, and a tester who support the project from discovery through deployment. More developers or specialists may be involved depending on the complexity of the customizations, integrations, and technical environment. Other POS vendors may use a different team structure.
On the merchant side, smaller businesses may assign several responsibilities to one person, while larger retailers may involve separate teams:
- Store managers and cashiers: Test the POS and hardware, attend training, evaluate checkout workflows, and provide feedback during the pilot.
- Finance team: Verify payments, tax calculations, refunds, reconciliation, and financial reporting.
- IT team: Provide system access and technical information, support integrations, review compatibility, and assist with deployment and troubleshooting.
- Other roles: Additional teams or stakeholders may be involved depending on your business model, operational structure, and project requirements.
Time required
A relatively straightforward Magento POS implementation focused on standard checkout functions typically takes around 1 to 2 weeks.
However, projects involving integration or customization may take longer. In these cases, the vendor will need to review the requirements and estimate a project-specific timeline.
Technical knowledge
Although the vendor is responsible for implementing the POS, your side’s representatives should have a basic understanding of Magento and the company’s existing technology environment. This helps them communicate effectively with the implementation team, provide accurate system information, understand potential limitations, and give useful feedback during testing.
Important notes for retailers using vendor-implemented Magento POS
- Ensure all business-critical requirements are documented in the proposal, quotation, contract, or requirements document. Do not rely only on verbal discussions. Ask the vendor to clarify anything that could be interpreted differently.
- Once the requirements, timeline, and costs have been approved, avoid introducing unnecessary changes during development. New requests may be treated as change requests or additional customizations, resulting in extra fees and extended implementation timelines.
- Clarify the support coverage provided by the POS vendor. Confirm details such as support hours and response times, available support channels, emergency procedures, contacts for critical incidents, whether advanced or real-time assistance requires an additional fee, and the exact scope of support included after go-live.
Costs to consider when implementing a Magento POS
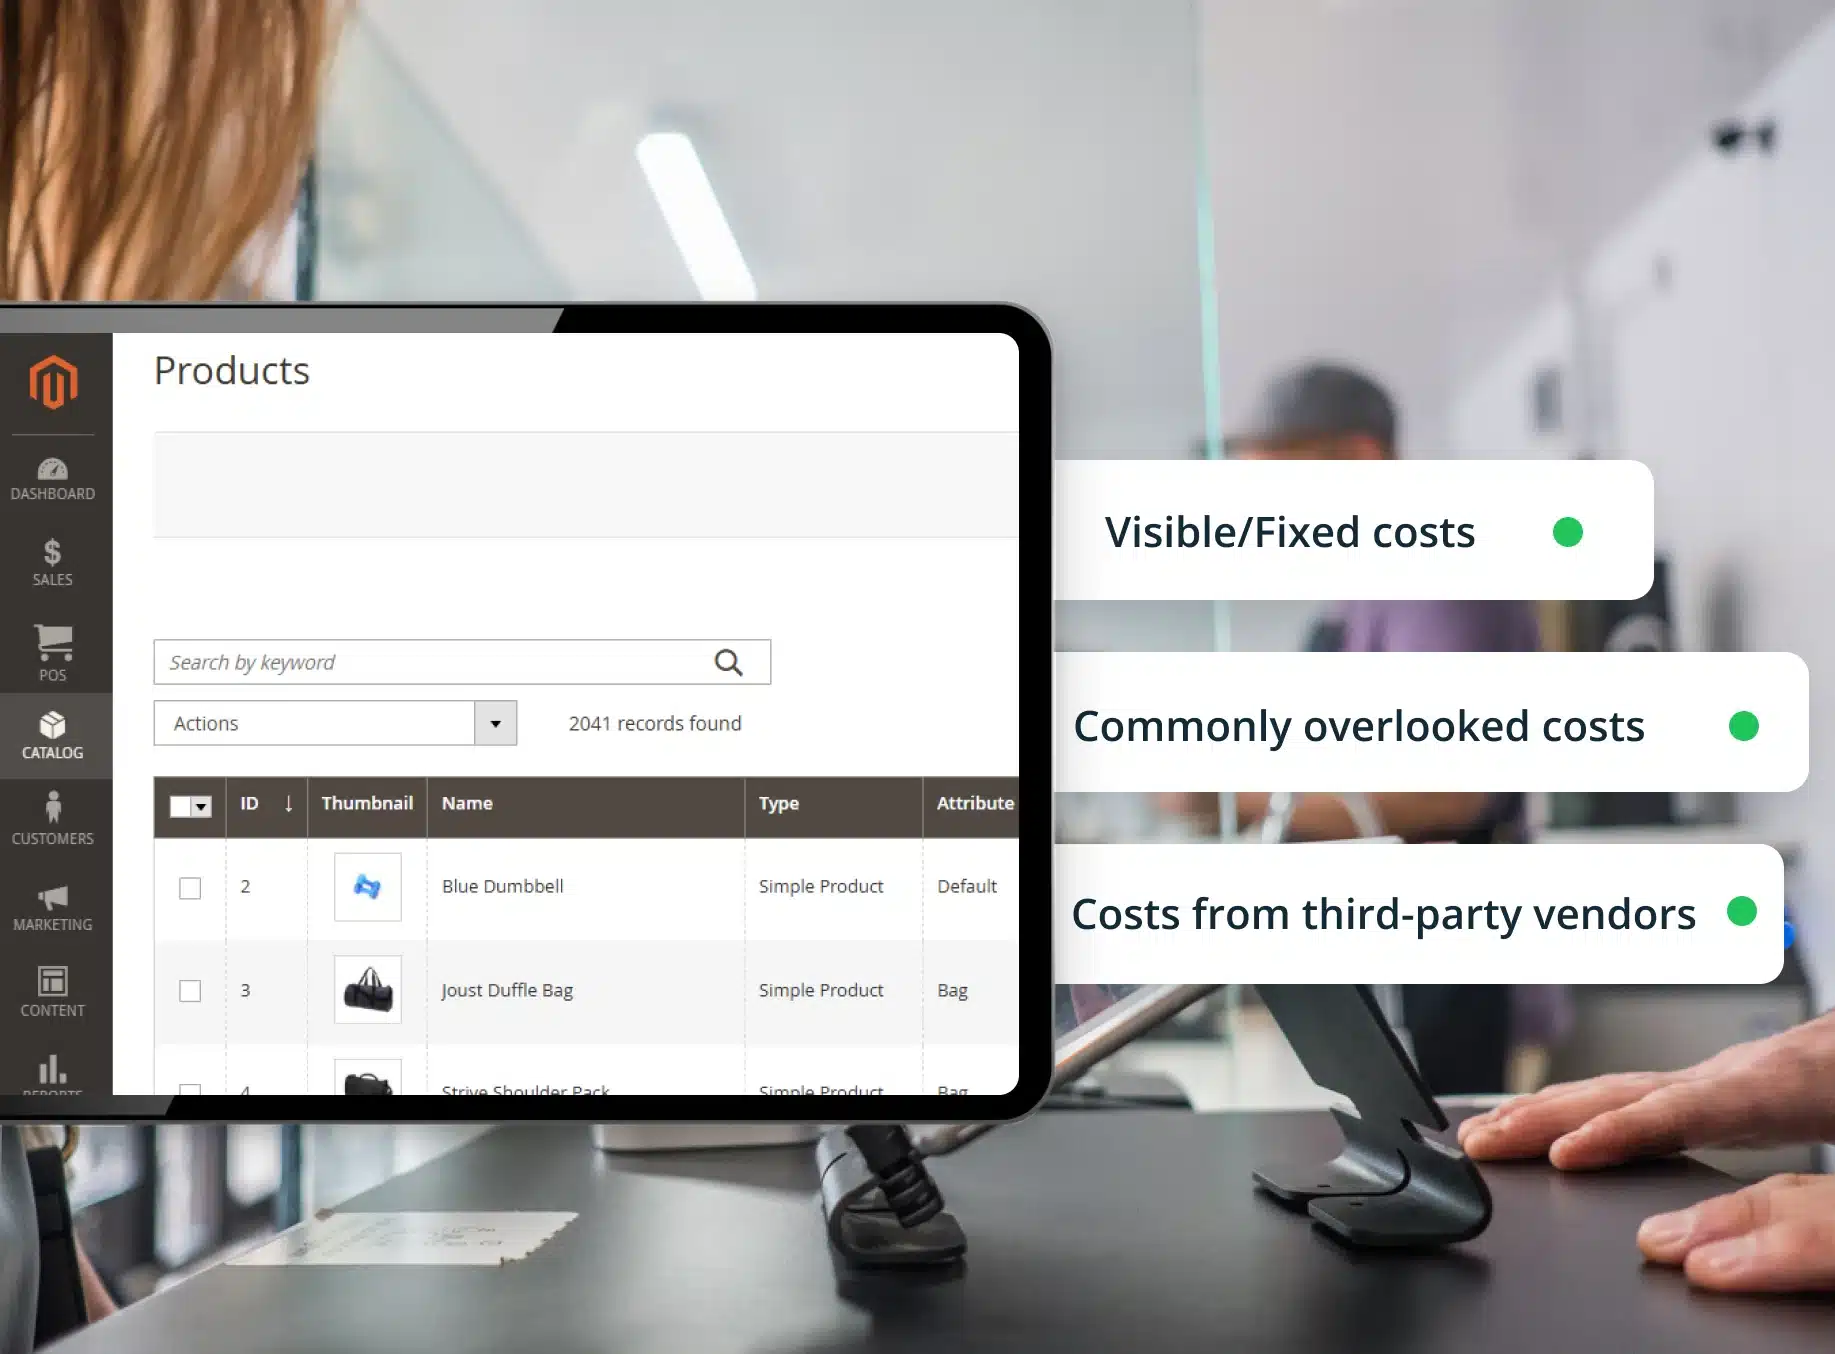
The total cost of implementing a POS usually extends beyond the price displayed on the vendor’s website. You should also account for additional charges from the POS vendor, as well as costs from third-party providers whose applications, hardware, or services connect with the POS. The following sections break down the visible or fixed costs, additional or commonly overlooked costs, and third-party expenses you should expect.
Visible/Fixed costs
- POS license or subscription fee: The first cost is the right to use the POS software. Depending on the vendor and package, this may be charged as a one-time license fee or a monthly or annual subscription, with additional fees based on the number of locations, registers, or terminals.
- Initial installation fee: Self-install packages may offer optional installation services in case you cannot complete the setup yourself. For vendor-implemented solutions, installation costs are typically included in the implementation package, although the exact scope should be confirmed with the vendor.
- Basic support or maintenance fee: Some POS packages include support for a limited period, while others charge separate fees for ongoing support, warranty, or maintenance services.
Additional or commonly overlooked costs
- New change requests and customization: Additional charges may apply when you request something outside the approved project scope.
- Annual warranty or maintenance fees: Some vendors charge an annual fee to continue providing support and maintenance. Additionally, the amount may increase when you add new locations or registers.
- Customization upgrade fee: A POS solution or its custom features may be developed for a specific Magento version and may not be fully compatible with a newer release. The vendor may therefore charge an additional fee to review, update, test, and redeploy the custom code to ensure that it continues to work correctly after the Magento upgrade.
- Advanced/real-time support: Standard support may only be available during the vendor’s regular business hours. If you require real-time assistance, faster response times, or support outside normal working hours, additional fees may apply.
Costs from third-party vendors
Not every cost involved in a Magento POS project is charged by the POS vendor. Hardware, payments, hosting, and connected business systems are often supplied and billed by separate providers.
- Payment provider/payment terminal fees: Transaction-related fees may be charged directly by the payment processor, by the POS vendor if it offers or resells the payment solution, or by a separate terminal provider. These costs may include transaction fees, merchant account fees, gateway fees, service or markup fees, and the purchase or rental of payment terminals.
- Hardware vendor fees: You may need to purchase or rent hardware such as POS devices, barcode scanners, receipt printers, cash drawers, and customer displays. These costs will increase as new stores or registers are added.
- Hosting or server costs: Because many Magento-native POS solutions operate within the retailer’s Magento environment, the POS may increase the demands placed on the existing infrastructure. Some possible costs include additional server resources, hosting plan upgrades, database capacity, etc.
- Third-party system integration costs: If you connect the POS with external systems such as ERP, WMS, CRM, accounting, loyalty, or tax software, additional costs may apply, including software subscription fees and other system-specific expenses.
For a more detailed breakdown of POS pricing and the factors that affect the total cost, explore How much does a POS system cost?
Risks to be aware of when implementing a Magento POS
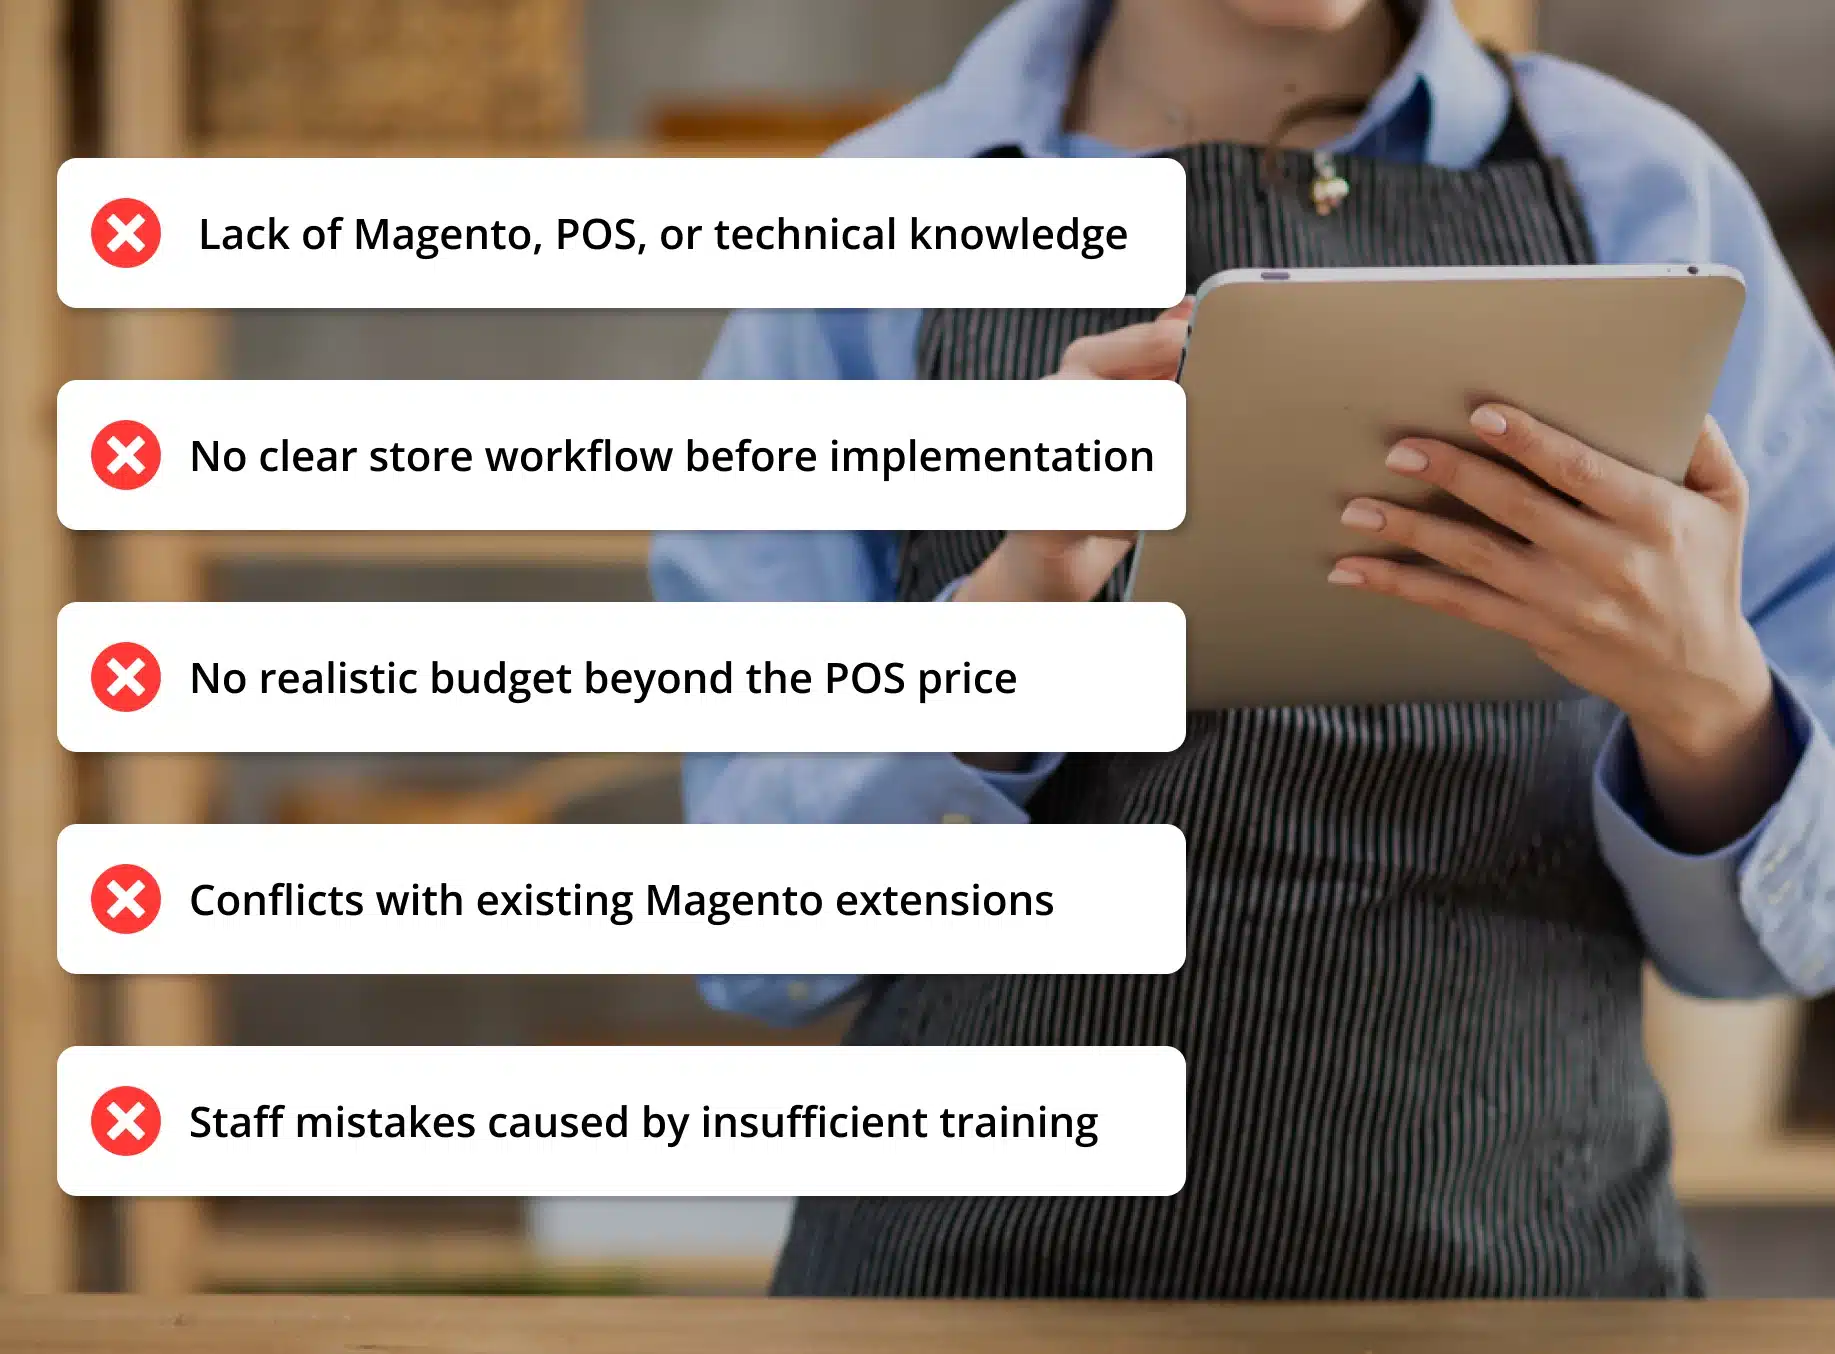
To ensure that your Magento POS fits your existing systems and business needs, you should understand the key risks that may arise before, during, and after implementation.
Risks before implementation
- Lack of Magento, POS, or technical knowledge: Even a basic self-install Magento POS requires some understanding of Magento and light technical skills. Without this knowledge, the POS may be installed or configured incorrectly, leading to compatibility issues, errors, or unstable performance. For example, some retailers assume that a “Magento-native POS” will automatically inherit every rule, customization, and extension from their Magento website. In reality, certain website features or third-party extensions may require separate configuration, compatibility checks, or custom development before they can work properly in the POS.
- Choosing the wrong POS package: If you do not assess your current business requirements carefully or identify the gaps between those requirements and the POS’s standard capabilities, you may select a package that is too limited or unnecessarily advanced. A basic package may appear cheaper at first but could require paid customizations, additional integrations, or a later upgrade to a higher-tier solution. On the other hand, choosing a more advanced package than your business needs may increase upfront and ongoing costs without delivering meaningful value. Conducting a fit-gap assessment before purchase helps you choose the right package and avoid unexpected implementation expenses.
- No clear store workflow before implementation: If you have not clearly documented how your store operations should work, it may be difficult to select the right POS solution, configure it accurately, or estimate the project scope. Unclear workflows can lead to frequent requirement changes, inconsistent configurations, additional customization, higher costs, and a longer implementation timeline.
- No realistic budget beyond the POS price: If you budget only for the license or subscription, you may overlook additional expenses such as implementation, testing, staff training, hardware, integrations, support, and post-go-live maintenance. An incomplete budget can delay the rollout, limit testing and training, leave critical issues unresolved, or force you to reduce the project scope. Therefore, you should estimate the full cost of ownership before implementation and include a contingency budget for unexpected work.
Risks during implementation
- Extended implementation timeline: The original schedule may be delayed by new requirements, scope changes, additional customizations, complex integrations, shifting project priorities, incomplete dependencies, or delayed testing and approvals. To reduce this risk, define and approve the scope before development begins, avoid unnecessary changes, complete related system work in advance, assign clear decision-makers, and provide timely feedback throughout the project.
- Conflicts with existing Magento extensions: Compatibility issues may arise between the POS and third-party Magento extensions. Conduct thorough testing and resolve all critical conflicts before rolling out the POS across your stores.
Risks after implementation
- Magento upgrades may affect POS compatibility: A POS may be compatible with the Magento version used during implementation but not automatically support a later release. Before upgrading Magento, confirm that a compatible POS version is available, then update and retest the POS and all critical workflows in a staging environment before deploying the changes to your live stores.
- Staff mistakes caused by insufficient training: Even a technically stable POS can produce incorrect results if staff do not understand how to use it. Training should occur before launch and be repeated for new staff, new stores, and major workflow changes.
- Support costs may exceed expectations: Standard support may not cover every issue. Additional fees may apply for requests outside the agreed support scope.
- Business changes may create new scope requirements: Changes to your business operations, workflows, or connected systems may require the POS to be reconfigured, customized, or integrated differently. This can create additional project scope, extend the timeline, and result in extra fees.
Conclusion
Magento-native POS implementation can range from a relatively straightforward self-installation to a complex vendor-supported project. The actual effort depends on your Magento environment, store workflows, data structure, integration and customization needs, and the expected level of support.
Before selecting a solution, look beyond the advertised license or subscription price. Consider the full cost of installation, configuration, testing, training, hardware, integrations, maintenance, upgrades, and future changes. You should also assess potential risks, such as extension conflicts, unclear requirements, delayed implementation timeline, staff training gaps, and compatibility issues after Magento updates.
A clear fit-gap assessment, realistic budget, well-defined workflows, and structured implementation plan can help you avoid unexpected costs and choose a POS that supports both your current operations and future growth.
If you need further information or guidance, feel free to contact our experts.